Tools Introduction Class
Tools Feature & Advantage Introduction Class
Tools Operation and Application Class
Tools Maintanence and Repair Class
Tools Quality Checking and Certified Class
Tools Torque Introduction
Marketing Service Area
Member post
The Salt-water Spray Tester
Popularity : 20213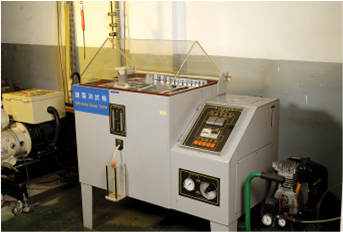
- Function Introduction
- Operation Steps
- Applicable Products
- Pros and Cons
Function Introduction
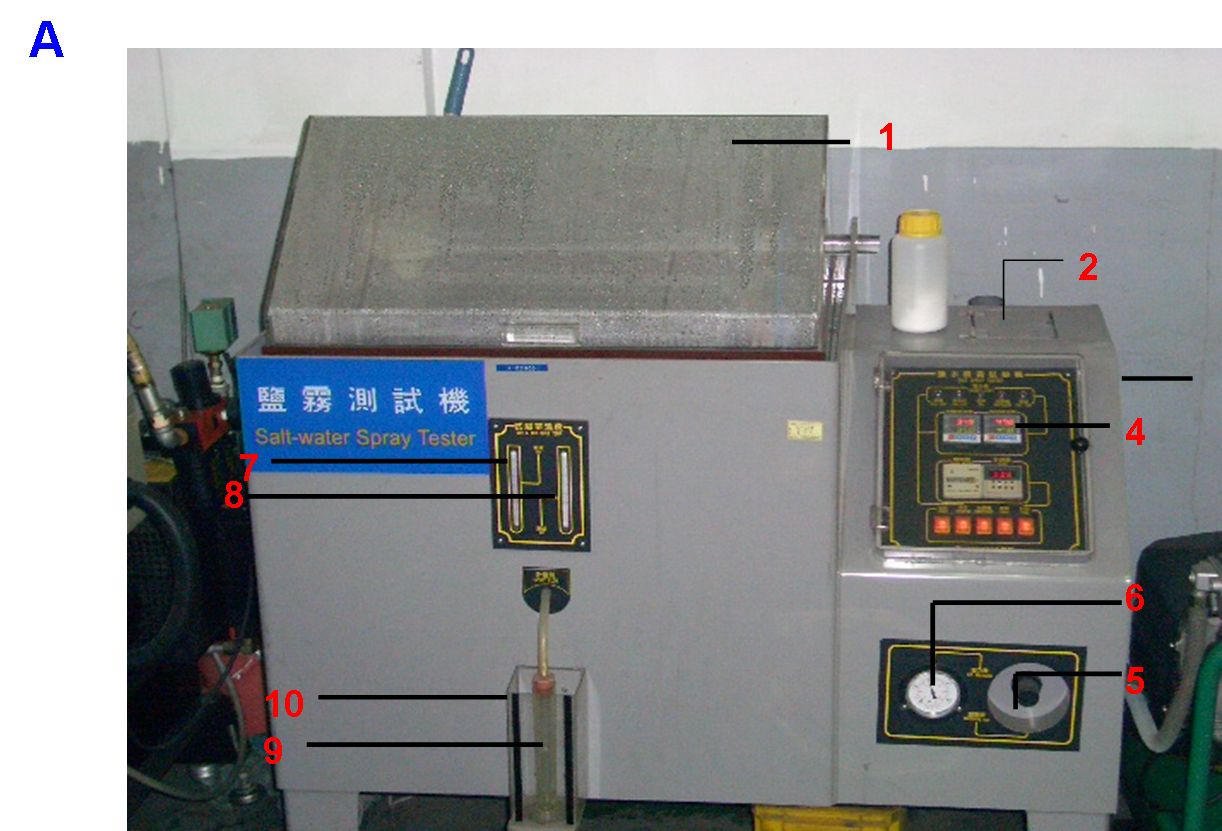
- Cover of testing area
- Salt water supplementary entrance
- Observation window of replenish of salt water
- Interface
- Pressure adjusting valve
- Pressure gauge
- Dry bulb thermometer
- Set bulb thermometer
- Metering cylinder
- Cover of metering cylinder
Operation Steps
| 1 | 2 | 3 |
|---|---|---|
 Graph 1 Graph 1 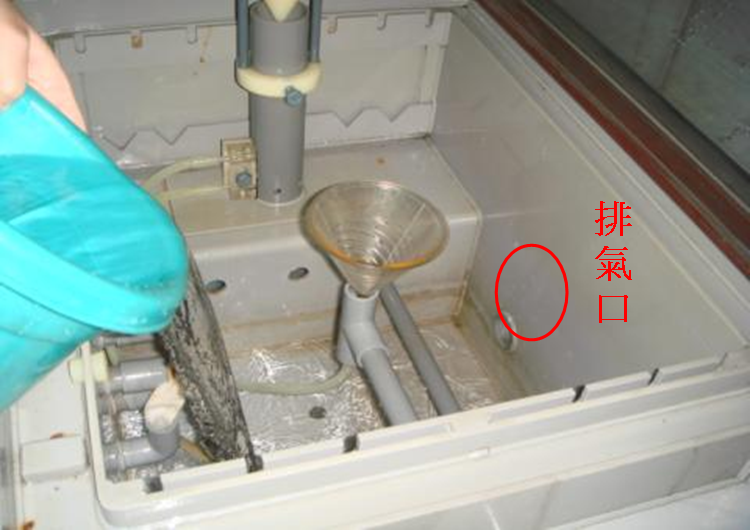 Graph 2 Graph 2 |
 |
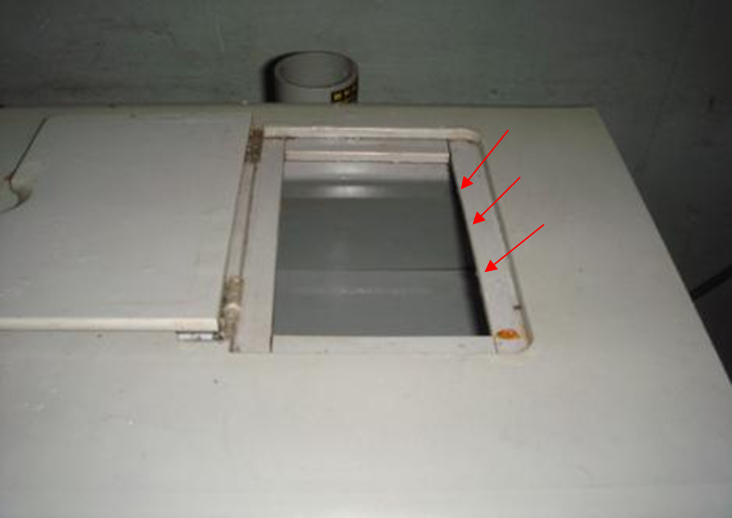 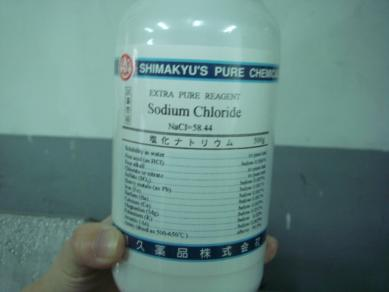 |
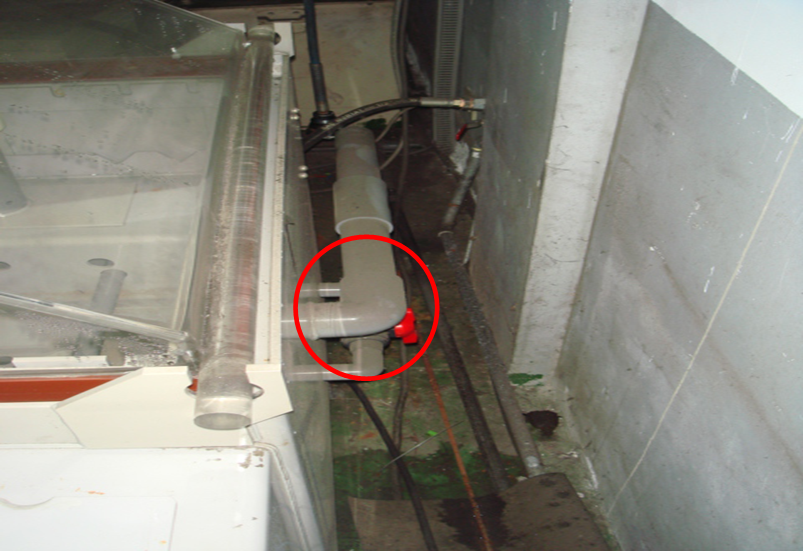
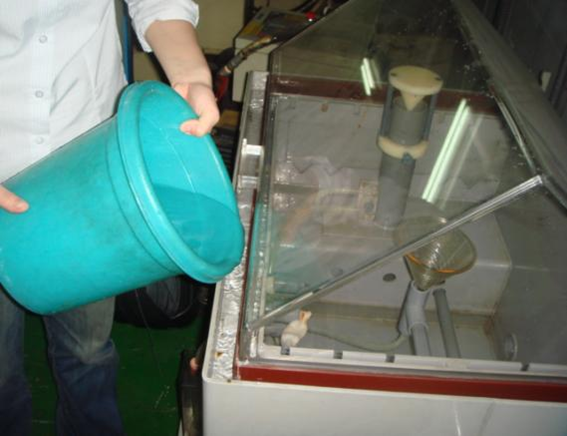
| In the beginning, make sure the drain valve that is on the back of the machine is closed as the Graph 1 depicts. Pour the water into the heating sink of the testing area and the water level should not be over the exhaust. (Please note that the drain valve is closed when the valve switch points up and perpendicular to the pipe. On the other hand, the drain valve is opened when the valve switch points left and parallel to the pipe. | Fill up the isolated sink with water till the water level is higher than the plate. | Pour the salt water into the salt water supplementary sink. Add about 20 liters at a time in order to flow the salt water from the original sink to the preheated sink. |
| 4 | 5 | 6 |
 |
  |
 Graph 1 Graph 1 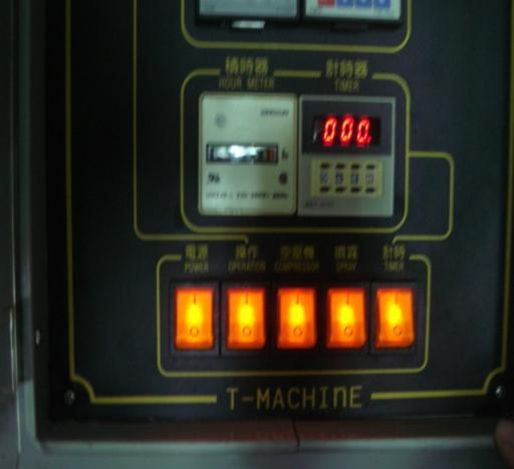 Graph 2 Graph 2 |
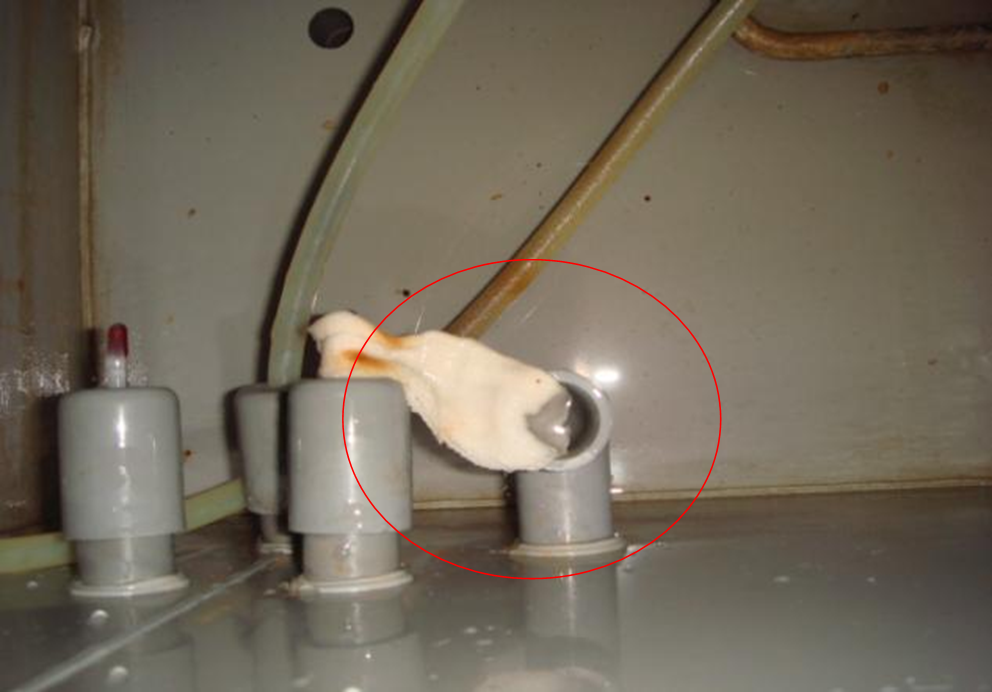
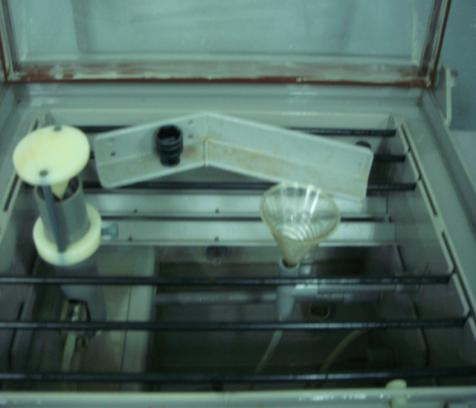
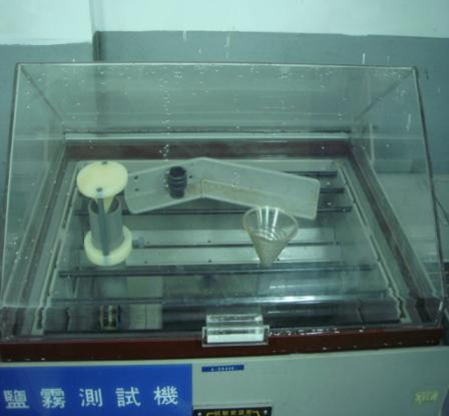
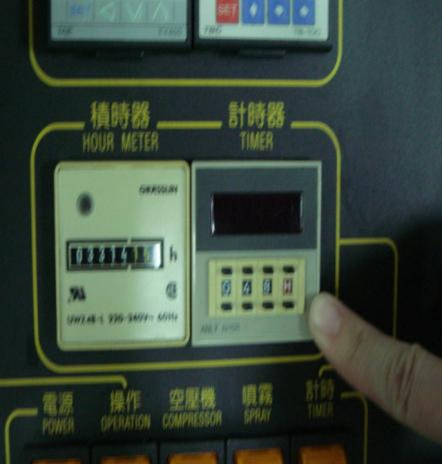
| Fill the water into the wet bulb cup. The wet bulb thermometer should be covered with moist gauze and the end of the gauze should be placed inside the cup. | Place the suspended testing product onto the testing area. | Set up the testing duration as Graph 1 illustrates, then as the Graph 2 demonstrates, turn on all powers. |
| 7 | 8 | 9 |
 |
 |
 |
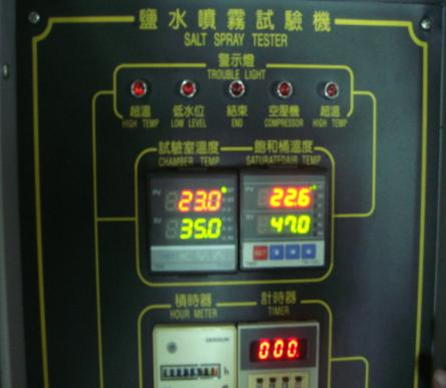
| Set up the testing temperature: a. Salt water experiment: Set the testing area temperature to 35°C and the saturated air barrel temperature to 47°C b. Corrosion experiment: Set the testing area temperature to 50°C and the saturated air barrel temperature to 63°C |
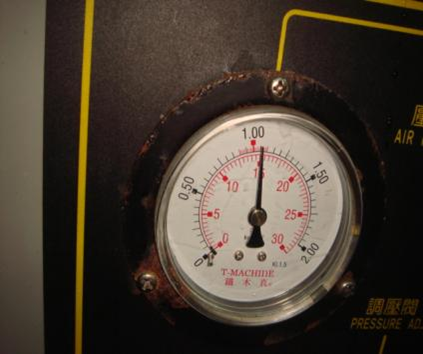
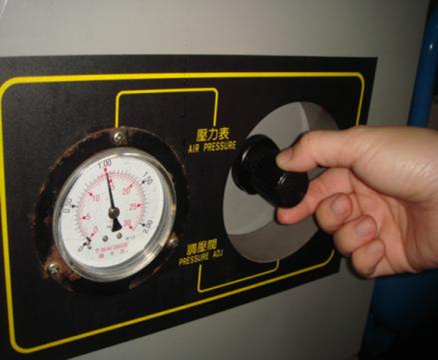
Turn on the air compressor: a. Open the inlet valve that is on the front of the air compressor. b. Set the air filter regulator to 2kg/cm*2 c. Set the pressure regulator valve to 1kg/cm*2 |
After finishing the experiment, turn off all powers in order. |
Applicable Products
Place and seal the suspended product into the tester. Operate the examination with specific proportion of salt water for 48 hours, and the main goal of the test is to identify the quality of the surface treatment of the product, especially plating and coating.
The test can be implement on all products that have been through plating and coating treatment on their surfaces.
Pros and Cons
The main purpose of the salt water spray tester is to testify the strength of the rustproof and corrosion resistant of the products’ surface treatment. However, due to diverse weather in different country, the time of the surface treatment of the products can endure are not exactly the same. Therefore, the testing conditions should be strictly set in order to prevent the circumstance of unappealing appearance and shorten the service life from happening.