Tools Introduction Class
Tools Feature & Advantage Introduction Class
Tools Operation and Application Class
Tools Maintanence and Repair Class
Tools Quality Checking and Certified Class
Tools Torque Introduction
Marketing Service Area
Member post
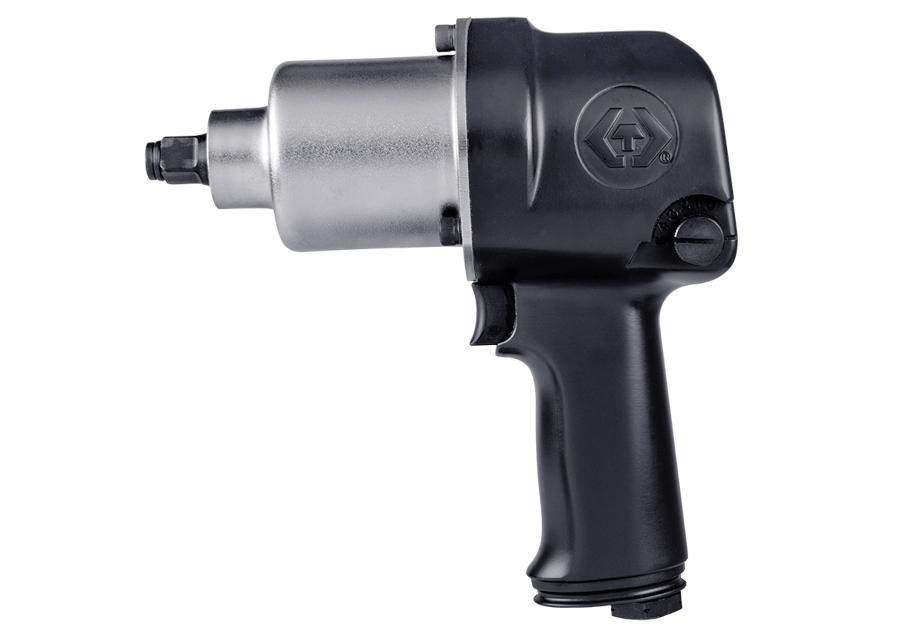
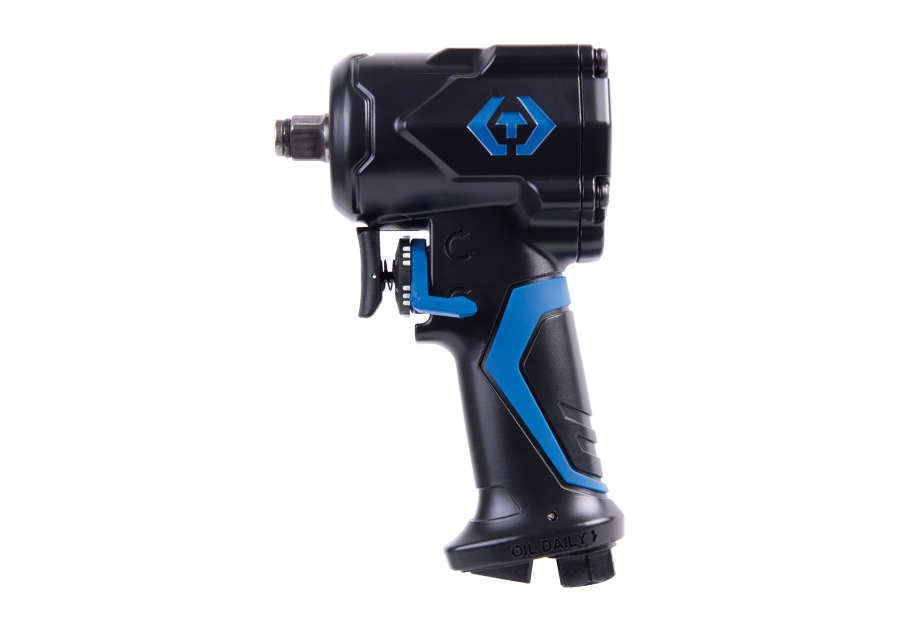
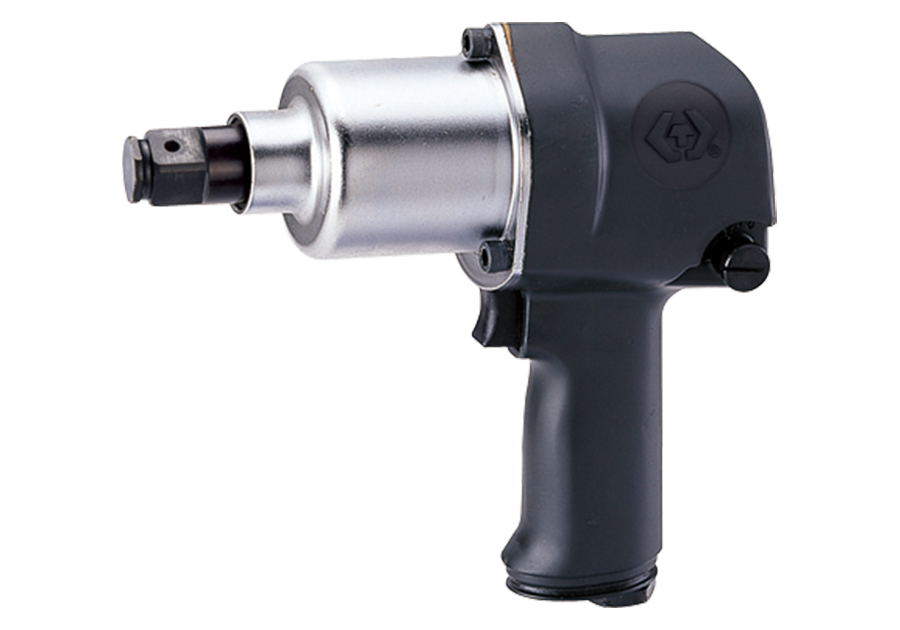
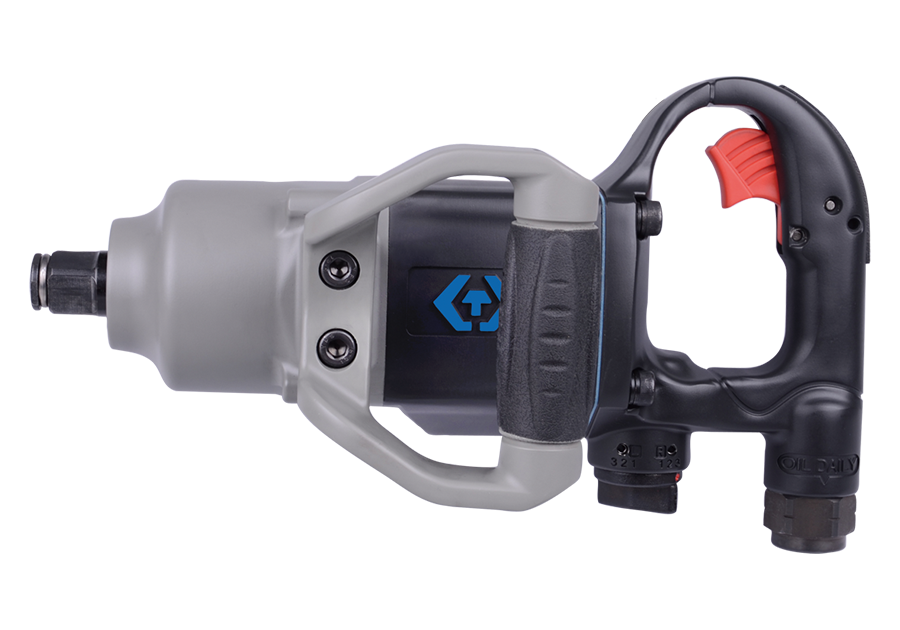
KT Pneumatic Wrench
Popularity : 40477The Users
Steam locomotive-related, computer electronics, mechanical assembly industry, a variety of mold industry, wood industry, construction industry ... and so on.

Hammering Structures
| Type | Service Time | Torque (ft.lb/Nm) | Stability | Failure Rate | Repairing Price | Noise |
|---|---|---|---|---|---|---|
| New Twin Hammer | Ⓞ | O | △ | Ⓞ | Ⓞ | △ |
| Twin Hammer | O | O | △ | O | O | △ |
| Single Hammer | Ⓞ | O | △ | O | O | △ |
| Pin Clutch | ✕ | Ⓞ | O | ✕ | ✕ | Ⓞ |
| Double Hammer Clutch | △ | ✕ | Ⓞ | O | △ | △ |
| Rocking Dog Clutch | ✕ | ✕ | △ | ✕ | △ | △ |
| Pinless Hammer Clutch | △ | △ | △ | O | △ | △ |
Ⓞ-Best O-Good △-Normal ✕-Bad
The Features of New Twin Hammer
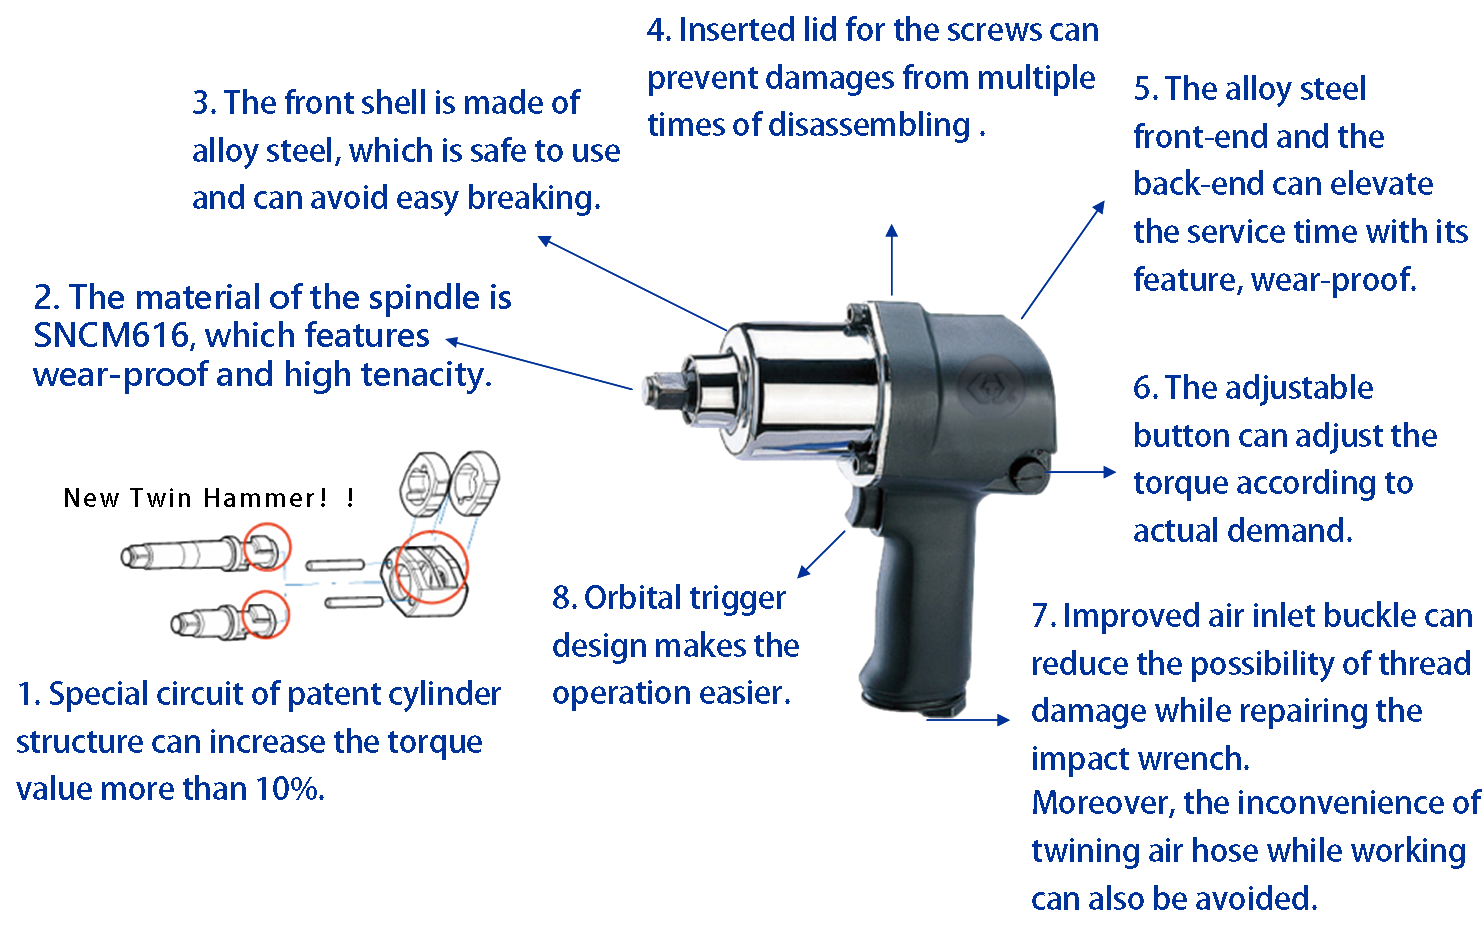
The design of New Twin Hammer structure is based on Twin Hammer structure. One of the severe issue of Twin Hammer is that the hammer cage is way too easy to break down due to its crowd space. The new design, New Twin Hammer, add on a partition in the middle of the hammer cage, which increase the resistance of the structure in order to reduce the possibility of breaking.
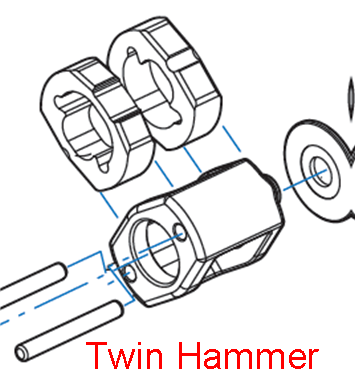
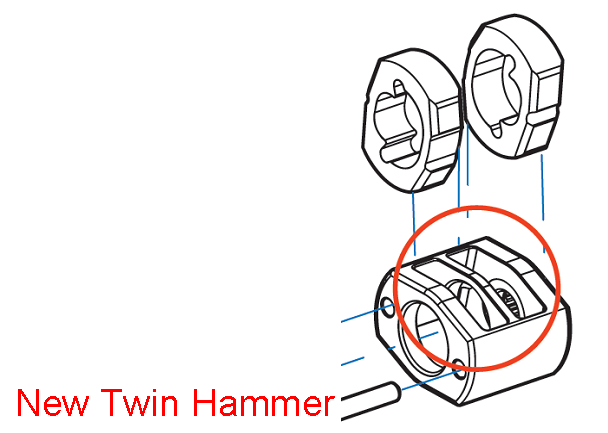
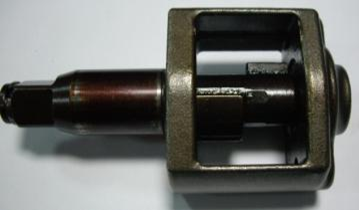
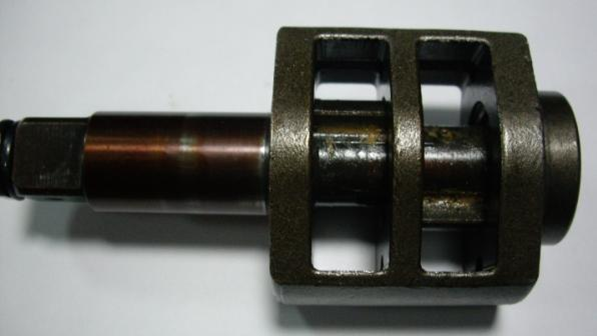
In the hammer cage, the pin of theTwin Hammer structure remains dangling in the center, which allows the pin to easily break after striking. Therefore, in the new design, the pin is assembled in a semicircle goove that can highly increase the stability of the whole combination.
Gun Type Pneumatic Wrench
Operating Instructions
-
Working: Push the bar to the R side to tighten the screws. On the contrary, the bar should be pushed to the L side when unscrewing the screws. Please note that this switching process cannot be done while pulling the trigger.
-
Adjusting: After using the pneumatic wrench, reverse the rotating direction and pull the trigger for approximately 1 second to finish a proper procedure of screwing. Then, the torque can be adjusted to meet the requirement by the adjustable button on the side.
-
General screws can be tightened in 2 to 3 seconds. If the screwing process last for 5 seconds, no matter tightening or unscrewing, means that the screw requires the pneumatic tools with higher torque.
Pneumatic Tools Cleaning and Maintaining
-
Offering Oil: Please fill 2~3 cc pneumatic oil from the air inlet into the tool before and after daily use in order to approach the goal of cleaning, lubricating and anti-rusting while the oil is cycling in the interior motor components. After injecting the oil, run the tool in each direction for a few seconds, then the work can be continued after the excessive oil is discharged. The pneumatic oil should be filled several times in the middle of a long-term working session. Last but not least, to assure the pneumatic tool to function normally, reach the service life accurately, reduce the repairing cost and increase the working efficiency as far as possible, please fill `Pneumatic Oil` only!
-
Lift Room: Clean off the old lubrication grease from the lifting room of the pneumatic tool every 3 months, then apply new grease to replace the old. Please note that excessive lubrication grease can effect and decrease the ability of the tool. Nevertheless, it is noticeably that tools with oil way should be filled with a few lubrication grease from the filling hole every single month in order to increase the service time of the lifting room.
Pneumatic Wrench Repairing
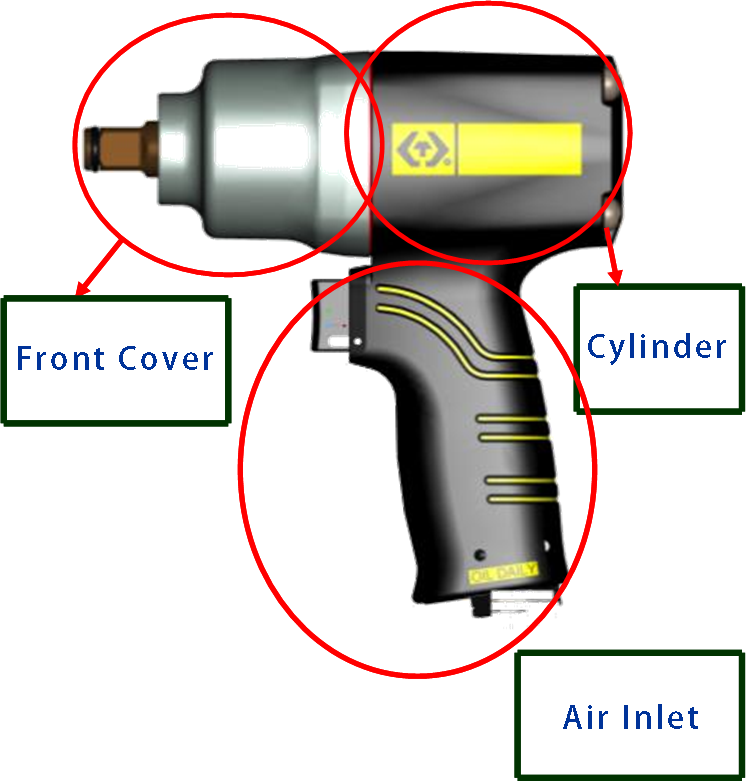
When it comes to repairing, pneumatic wrench is mostly divided into three main parts, which are the front cover, cylinder (the adjusting button) and air inlet.
Pneumatic Wrench Repairing -
The Front Cover
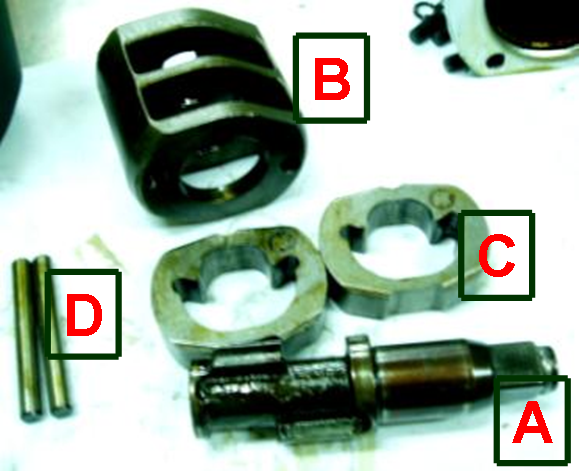
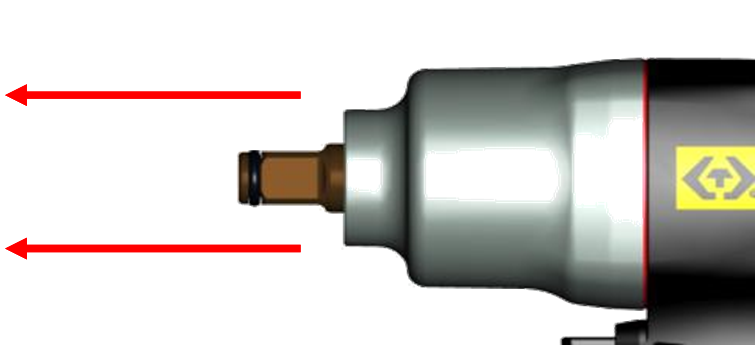
The front cover part is divided into four components:
A-Spindle, B-Hammer cage, C-Hammer, D-Pins.
Several reasons of why the front cover should be repaired:
-
Why is my pneumatic tool consuming air yet the rotation is inconsistent or not even rotating?
ANS: The component C, which is the Hammer, may be broken. -
Why can`t I elevate the torque of my pneumatic wrench?
ANS:There may be gaps while assembling or after the assembly.
The Front Cover (Maintaining Procedures)
| Maintaining processes of the front cover | |||||
|---|---|---|---|---|---|
| 1 | 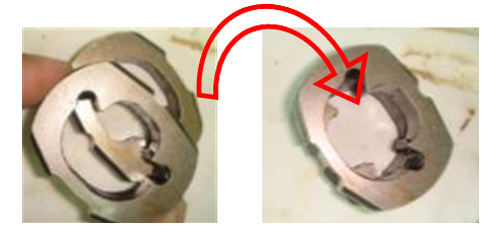 |
2 | 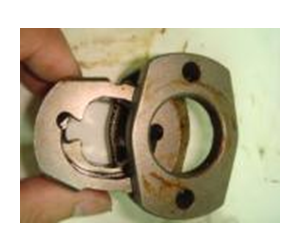 |
3 | 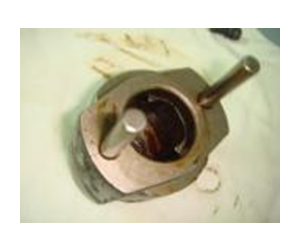 |
| 4 | 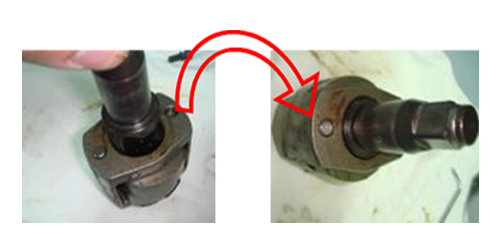 |
5 | 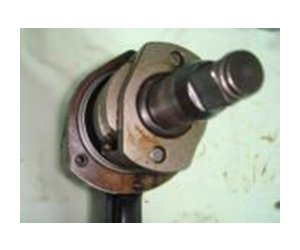 |
6 | 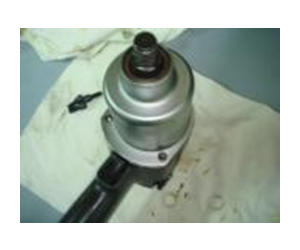 |
A hex wrench will be enough when it comes to the maintenance of the front cover part of the pneumatic wrench.
New Twin Hammer replacing steps:
-
Stack two hammers in reverse direction.
-
Put into the hammer cage.
-
Place two Pins in.
-
Then try to rotate the spindle after installing it in. (Rotate back and forth to make sure it`s smooth enough.).
-
Then set the entire group of parts into the machine.
-
Screw the cover on with three screws. (Three screws should be tightened at the same time in order to avoid the damages of the screws.).
Pneumatic Wrench Repairing -
Rotor Cylinder
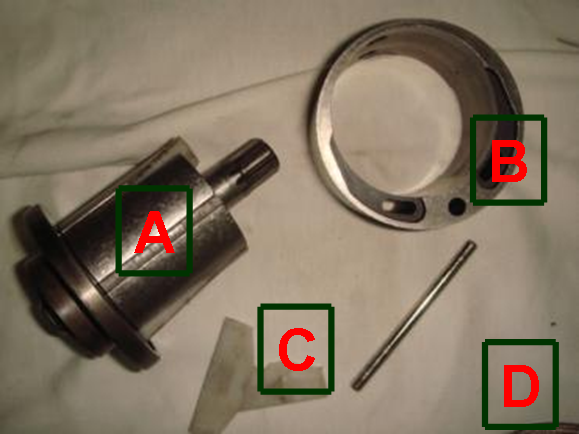
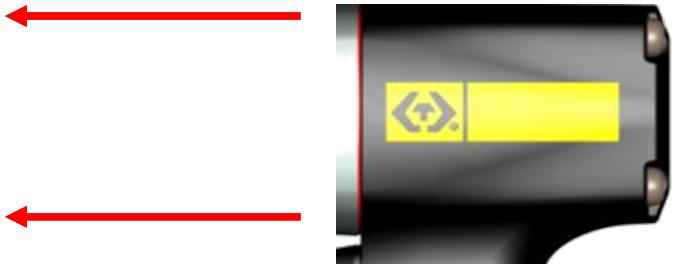
The rotor cylinder can be split into four parts:
A-Rotor, B-Cylinder, C-Rotor blade, D-Positioning pin.
Several reasons of why the rotor cylinder should be repaired:
-
The rotation is inconsistent or the torque can`t be elevated?
ANS: There are two reasons may be causing this problem. The first one is that the component C, which is the rotor blade, may be damaged. The second is that the impurities that accidently run into the rotor cylinder may harm the inner wall of the rotor cylinder.
* We suggest that clients shoudn`t repair the rotory cylinder on your own because repairing the rotor cylinder is the most complex and difficult process. Due to the hermatic gaps of the cylinder and inner wall, the disassembly will be troublesome, which is reason that the option of sending back to the the manufacturer will be recommended.
Rotor Cylinder (Maintaining Procedures)
| Rotor cylinder maintaining | |||
|---|---|---|---|
| 1 | 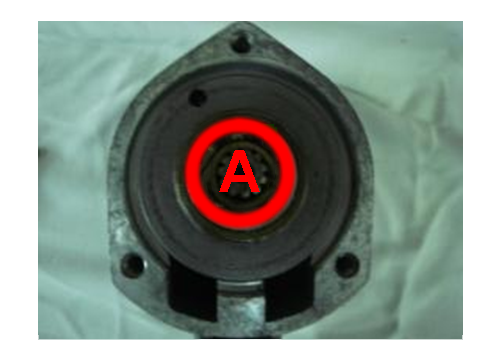 |
2 | 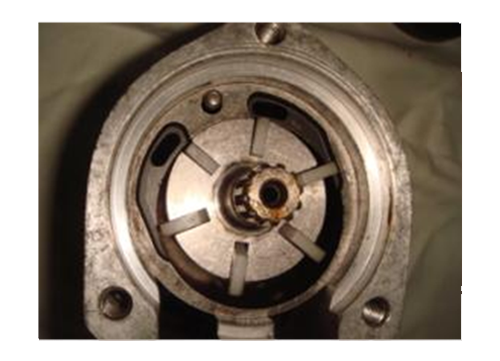 |
Removing the front cover will be enough when it comes to repairing the rotor cylinder.
Rotor cylinder repairing steps:
-
Use a rubber hammer to strike the A point in the Step 1, then the upper lid will be loosen.
-
Take away the lid and the rotor, cylinder and rotor blad will appear in sight.
-
The rotor blade can be replaced now.
The disassembly of the rotor cylinder requires special tools, therefore we suggest that clients shouldn`t disassmeble the rotor cylinder on your own.
Pneumatic Wrench Repairing -
Air Inlet
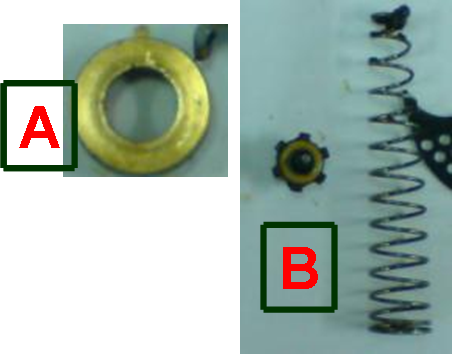
The air inlet is divided into two consumables, component A and B:
A-Buckle, B-Inlet valve.
Several reasons of why the air inlet should be repaired:
-
The rotation start automatically without pulling the trigger or the trigger isn`t rebounding after pulling it.
ANS: There may be impurities attatched on the air inlet or the trigger is damaged. -
The issue of air leaking?
ANS: The buckle may be dented or jammed by impurities.
* Repairing air inlet requires special tools, hence the clients that wish to repair by yourselves can purchase the tools in order to increase the conveniency.
Air Inlet (Maintaining Procedures)
| Air inlet maintaining processes | |||||
|---|---|---|---|---|---|
| 1 | 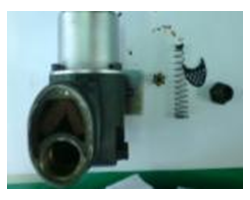 |
2 | 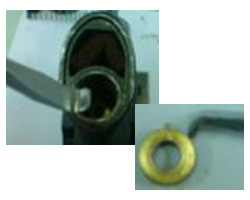 |
3 | 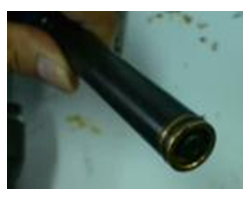 |
| 4 | 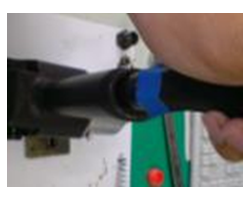 |
5 | 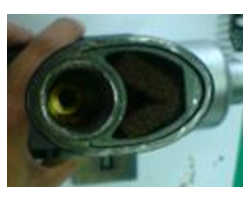 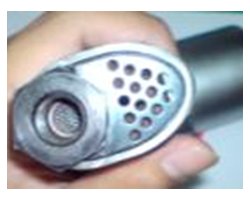 |
||
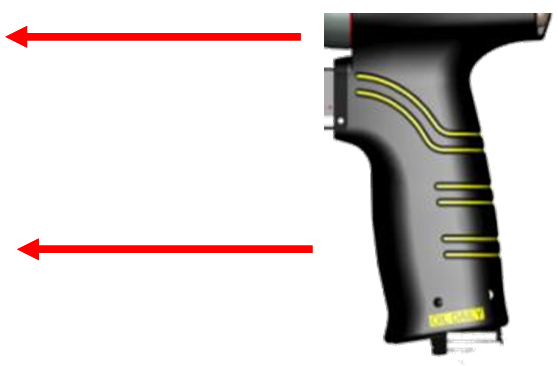
It is essential to disassemble the inlet valve and buckle from the bottom of the handle of the pneumatic wrench while repairing.
Air inlet repairing steps:
-
Take off the lid of the air inlet then draw out the spring and the inlet valve.
-
Take out the buckle with the Impact Wrench Repair Tool 33011.
-
Apply sticky oil and place it on the flat side of the Impact Wrench Repairing Tool 33012.
-
Place the buckle in to the pneumatic wrench with the angle of 90 degrees and strike it with rubber hammer in order to make the buckle stick firmly (there`s no need for strong striking).
-
Put in the inlet valve and spring in order then the repairment is completed.
Pneumatic Wrench -
Repairing Conclusion
Air is being consumed yet the rotation is inconsistent or can`t be started?
-
Assure whether the trigger is functioning.
-
Assure whether the hammer is broken by open the front cover.
-
Assure whether the pressure adjusting button is functioning.
-
Assure whether the direction adjusting button is functioning.
The rotation starts automatically without pulling the trigger or the trigger isn`t rebounding after pulling it?
-
Assure whether the trigger has fallen off.
-
Assure whether the pin has fallen off or the impurities have attatched by unscrewing the screws and take off the lid from the air inlet.
After assuring the issues that mentioned above and the situation of inconsistent rotating and the failure of elevating the torque remains?
-
Inspect whether the gaskets and washers are broken leads to air leaking by opening the front covor.
-
Inspect whether the rotor blade is broken by opening the rotor cylinder.
Basic Maintenance
-
Place the pneumatic wrench down gently, softly and carefully after using.
-
Fill in the spindle oil from the air inlet before and after using the pneumatic wrench in order to avoid rusting and the inconsistent functioning.
-
Do not intend to disassemble objects that cannot be disassembled. Searching for proper method to loosen the screw first should be done initially, besides, the service life of the tool can also be lengthened.
-
Be aware of the screw tightening matters of components when asssembling the pneumatic wrench from disassembly.
* It is noticeably that the matter of lubricating and screw tightening (locking in corner or synthetically can highly narrow the gaps) should be taken into account after the repairment of the pneumatic wrench.
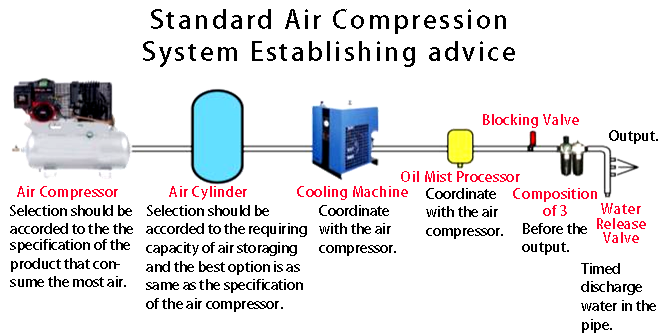
Air Compression System Establishing Advices
-
Air compressor generates compressed air.
-
Process through the composition of 3.
-
Attach with the air hose then connect the pneumatic tool.
-
Compressed air enter the pneumatic tool and can be released by pulling the trigger.
-
Compressed air enter the motor.
-
Motor generates energy and transfer to the transmission.
These are the standard process of setting air compression system that can lengthen the service life of the pnuematic tool by insulating moisture and dust from the machine.
Recommended Products
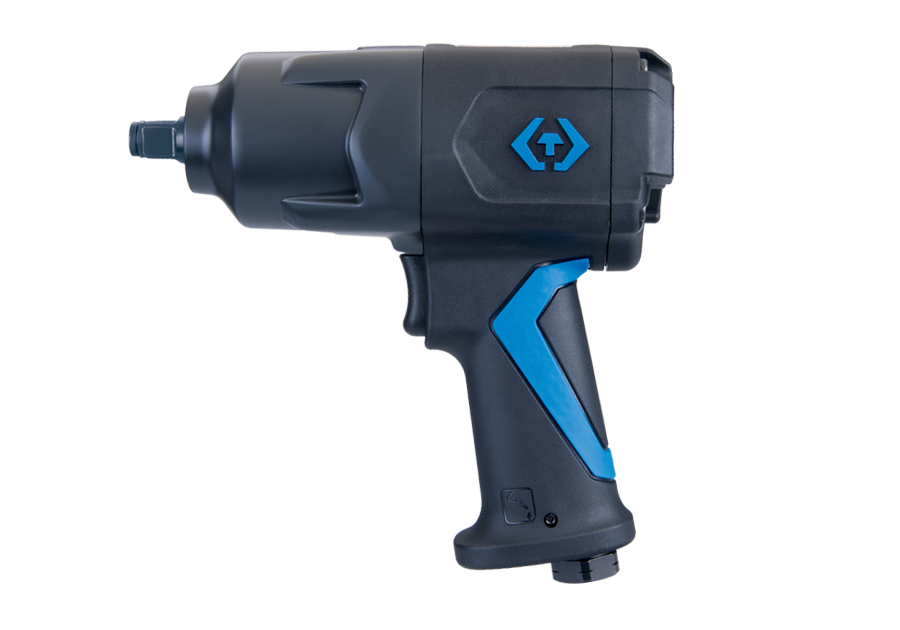
1/2" DR. Super Duty Composite Impact Wrench
33461-100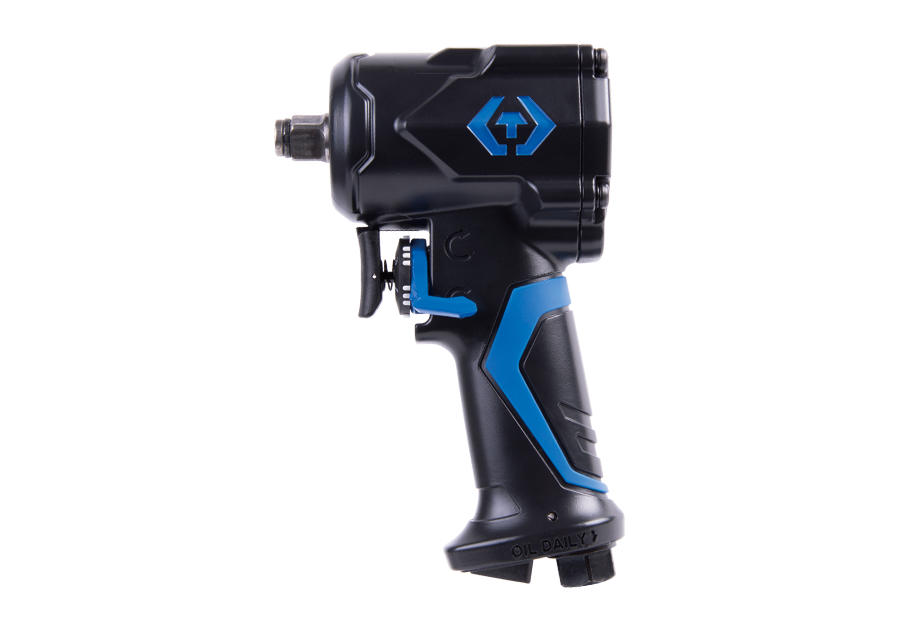
1/2" DR. Mini Impact Wrench
33431-050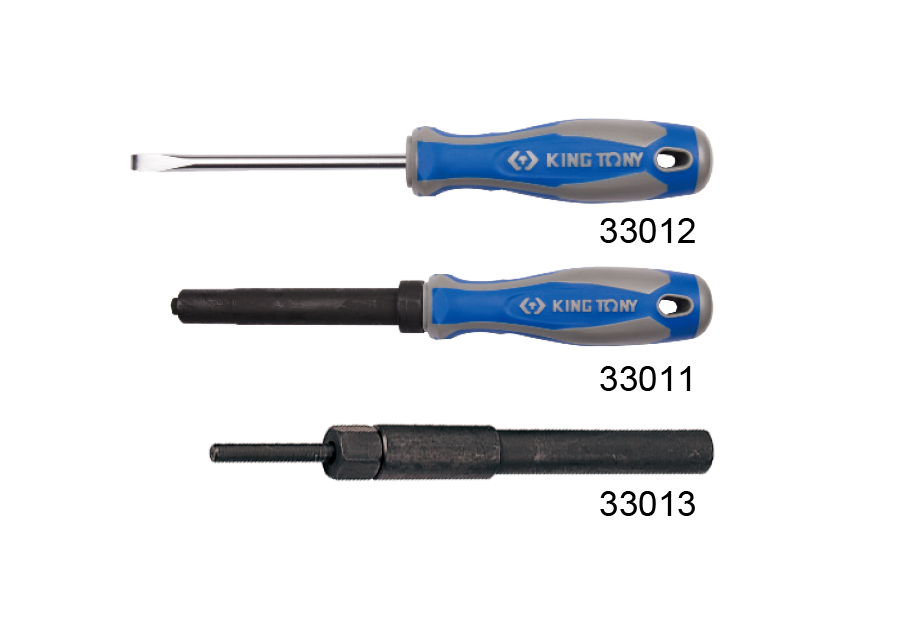
3 PC. Repair Tools
14103GP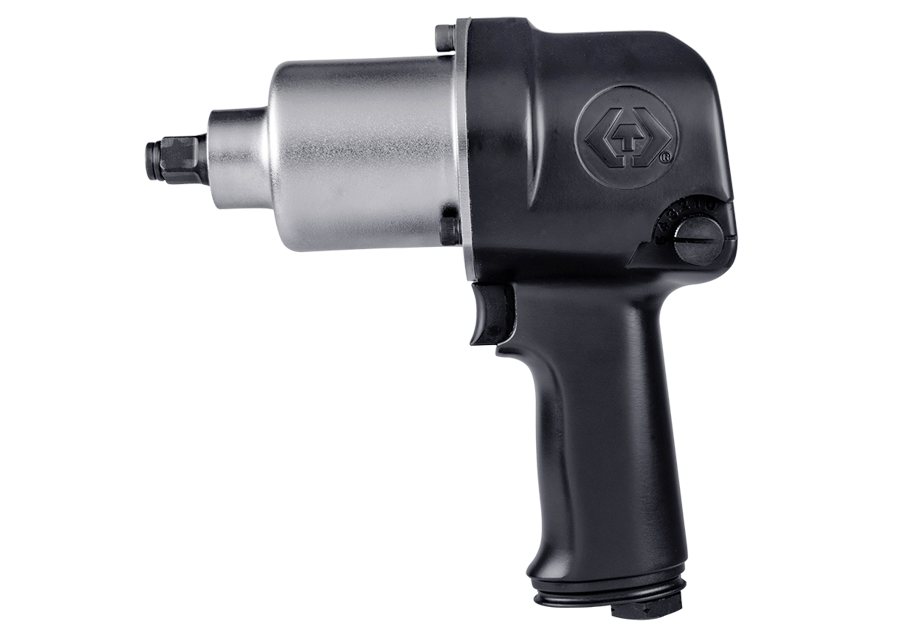
1/2" DR. Impact Wrench
33411-040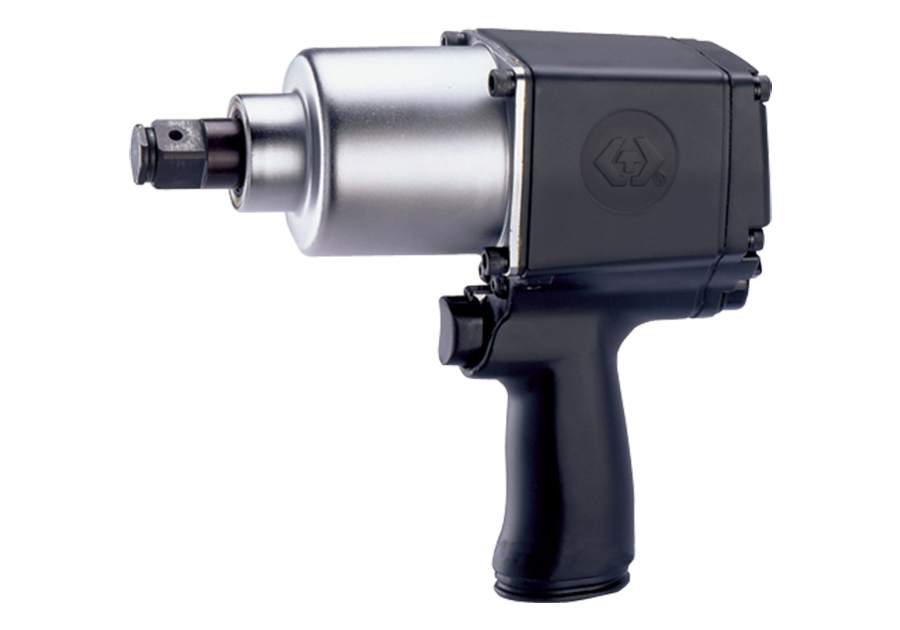
3/4" DR. Impact Wrench
33621-075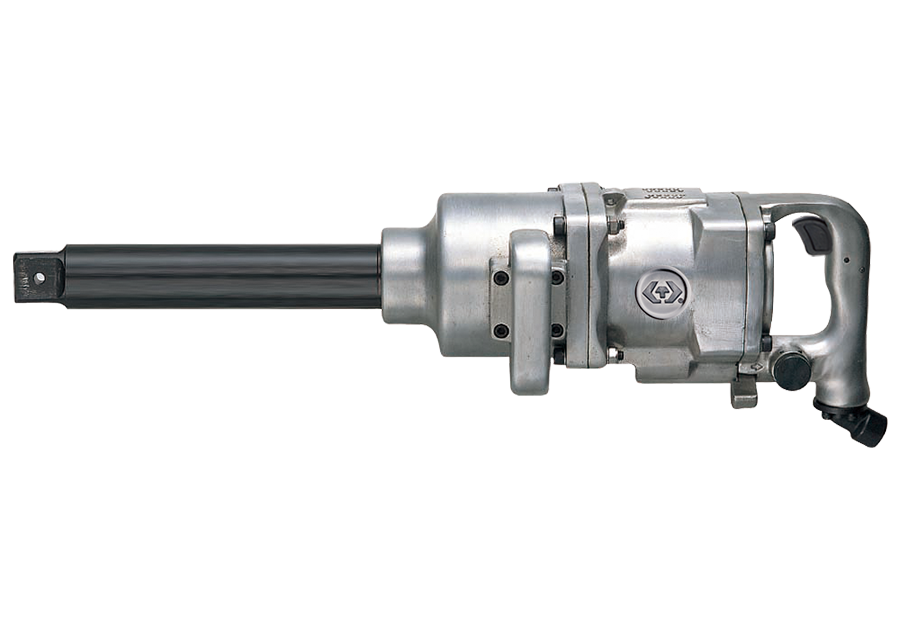
1-1/2" DR. Impact Wrench
33912-250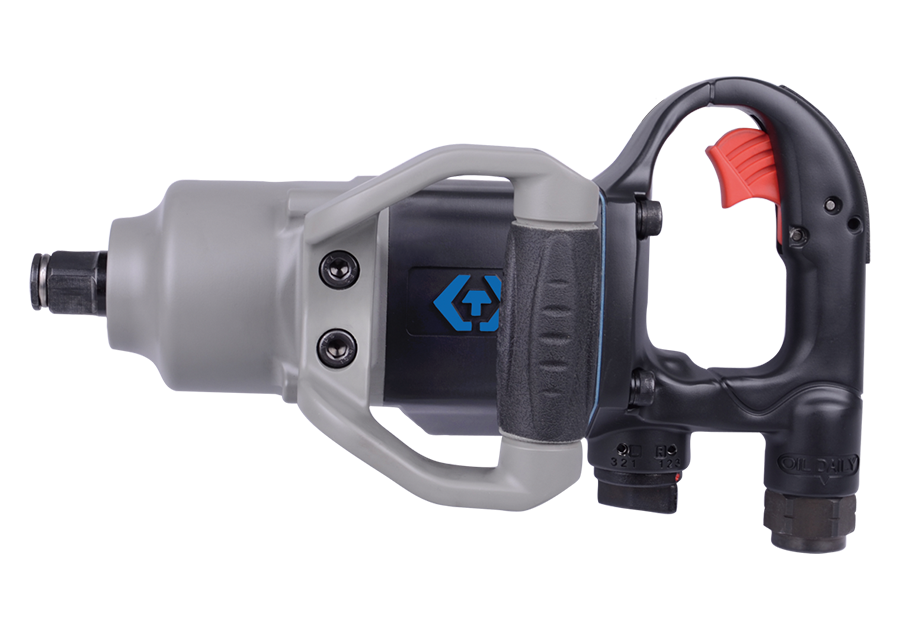
3/4" DR. Composite Impact Wrench
33671-160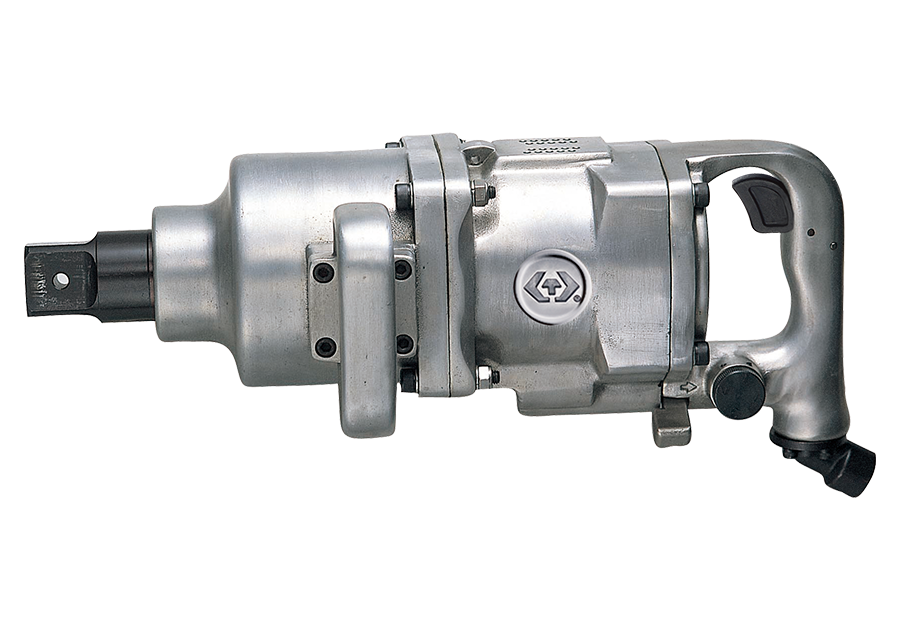
1-1/2" DR. Impact Wrench
33911-250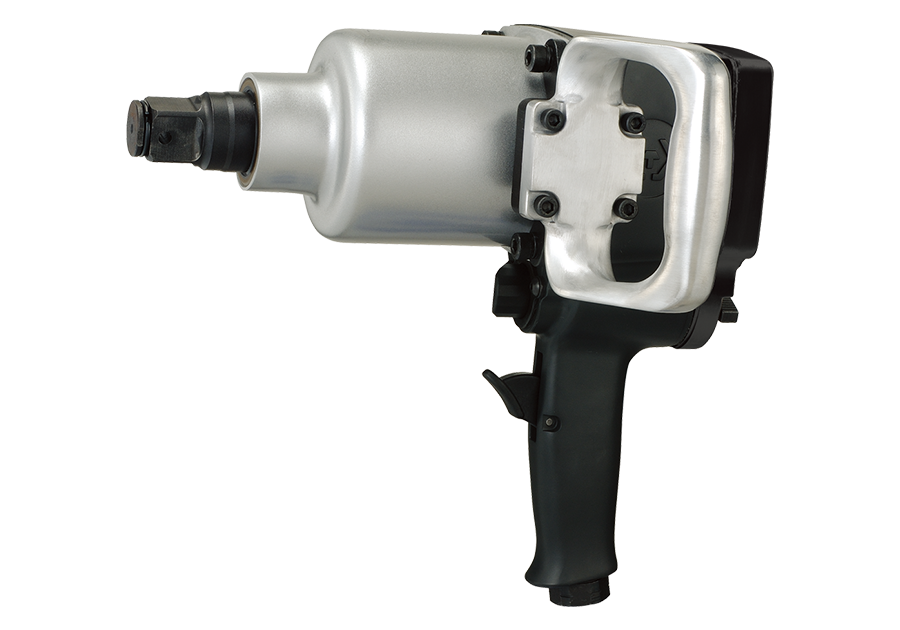
1" DR. Impact Wrench
33841-180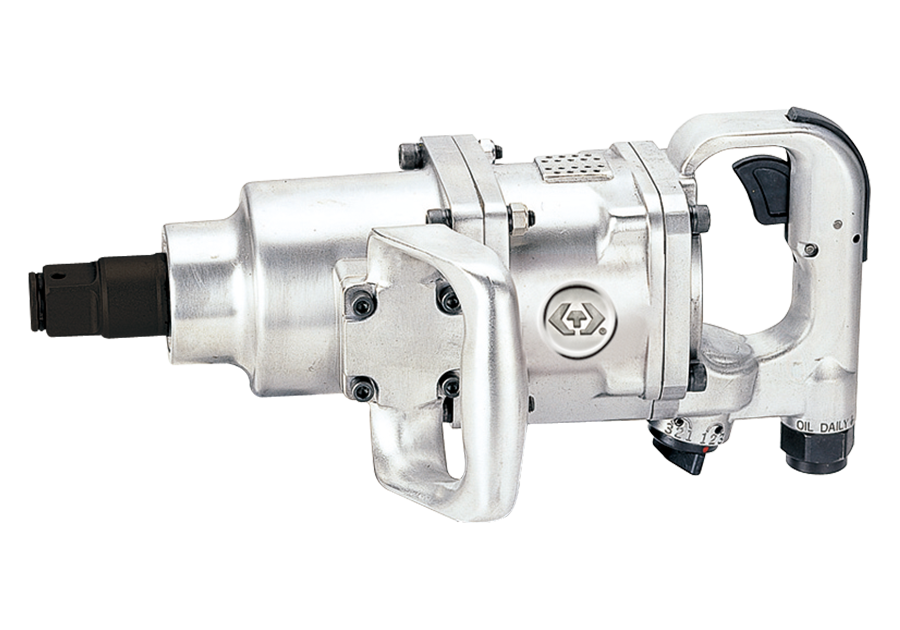
1" DR. Impact Wrench
33811-150