Tools Introduction Class
Tools Feature & Advantage Introduction Class
Tools Operation and Application Class
Tools Maintanence and Repair Class
Tools Quality Checking and Certified Class
Tools Torque Introduction
Marketing Service Area
Member post
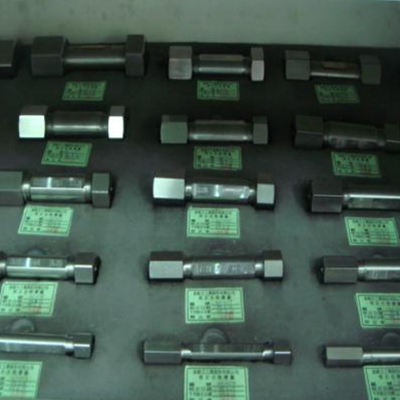
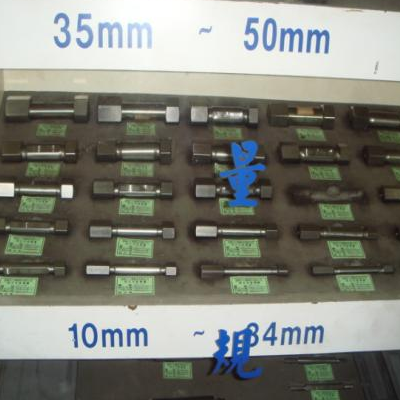
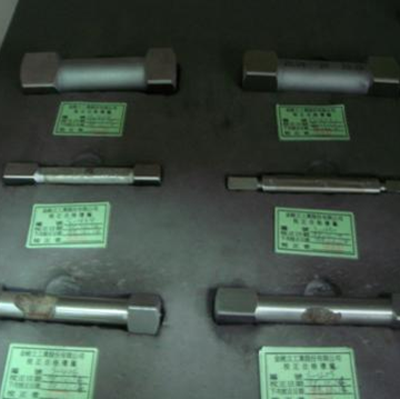
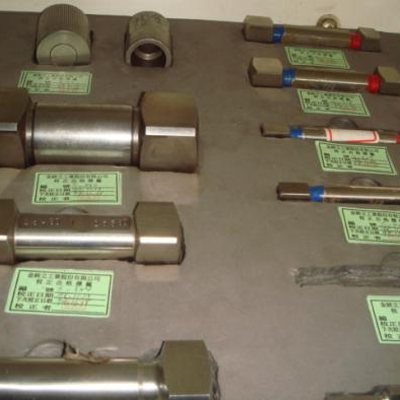
Introduction of Standard Pin Gauges
Popularity : 19893Types of Pin Gauges
|
|
|
|
|
Semi-finished Gauges (Metric, Imperial) |
Semi-finished Square Pin Gauges (Metric, Imperial) |
Finished Ball Type Pin Gauges |
Instructions
-
Gauge:
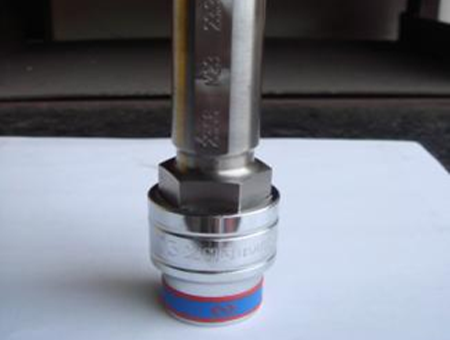
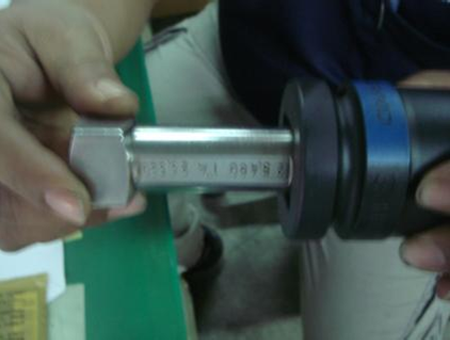
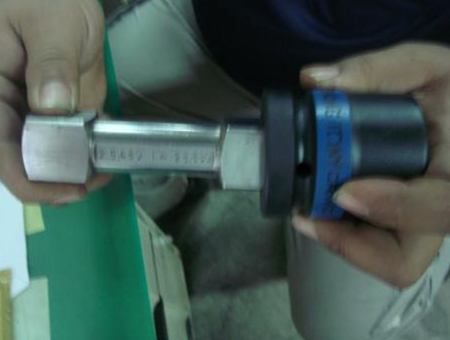
Uses on sockets and wrenches, and in the processes of lathing, drilling and heat treating, to assure the specification is correct. The Go Gauge should be able to be pinned into the tapped hole until it reaches the designed depth. On the contrary, the No Go Gauge shouldn’t be able to be pinned in at all. -
Ball Type Pin Gauge:
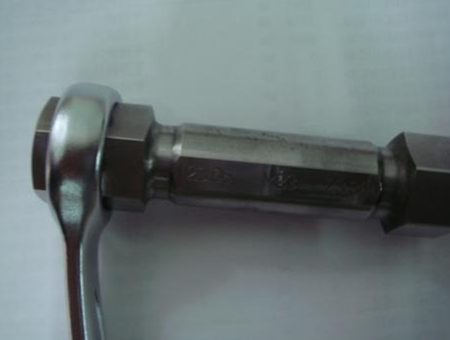
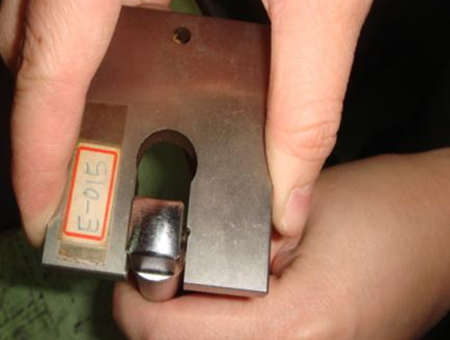
Uses on accessories that are equipped with steel balls, such as extension bars, square drives, flexible handle and so on. The Go Gauge should be able to be pinned in and the No Go Gauge should not. Moreover, the specifications should remain within the tolerance. -
Square Pin Gauge:
Uses on sockets when stamping the square hold of the socket in order to assure the specifications are accurate. The Go Gauge should be able to be pinned into the square hold and the No Go Gauge should not. -
Wheel Nut Square Pin Gauge:
Uses on sockets and in the processes of lathing, drilling and heat treating. The Go Gauge should be able to be pinned into the square hole of the wheel nut socket until it reaches the designed depth. On the contrary, the No Go Gauge shouldn’t be able to be pinned in at all.
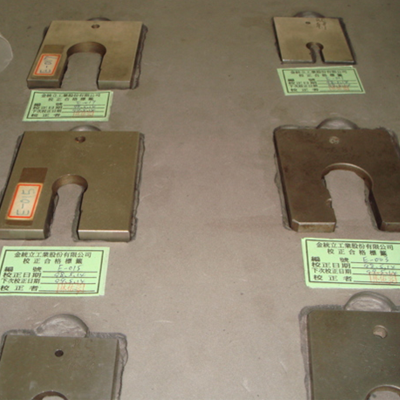
Calibration Cycle: 1 year.
Please note that when the tolerance of the calibration is over ±0.02mm, the gauge will be categorized as unqualified and should be discarded and reproduced.
Applicable Products
|
|
|
|
|
|
|
Sockets |
Wrenches |
Ball Types |
Socket |
Socket |
Advantage
-
Gauge:
The main purpose of the semi-finished pin gauges is to inspect the screw hold sizes of import forgings. The hexagonal go gauge should be able to pinned in and the no go gauge should not. If the no go gauged happened to be able to be pinned in, means that the screw hole is too big. On the other hand, finished pin gauges are for examining sockets that have been through heat treatment. There is a high possibility of screw hole deforming due to the improper conditions during the heat treatment, therefore, the sockets should be inspect by the finished pin gauge. Last but not least, the size of the semi-finished go gauge will is slightly larger than finished go gauge. -
Ball Type Pin Gauge:
Uses when being through the processes of pinning steel balls. The Ball Type Pin Gauge can assure whether the specification is within the tolerance. Furthermore, if the go gauge cannot be pinned in, the product will be dysfunctional while using. -
Square Pin Gauge:
Uses to inspect the square hole during the stamping and heat treating processes in order to assure the specification of the square hole in within the tolerance. -
Note:
KING TONY’s inspecting standard is according to DIN and ANSI, which implies that all gauges are made in DIN and ANSI basis. The standard of KING TONY is strictly than DIN and ANSI, moreover, the tolerance of imperial and metric gauges of KING TONY is within 0.01mm.
